Checking Blood Glucose

Video: Learn How to Check Your Blood Glucose
Your devices may differ from the ones that appear in the video.
Step by Step: Learn How to Check Your Glucose Level

1. Wash your hands with plain soap and warm water
No need to use alcohol wipes.

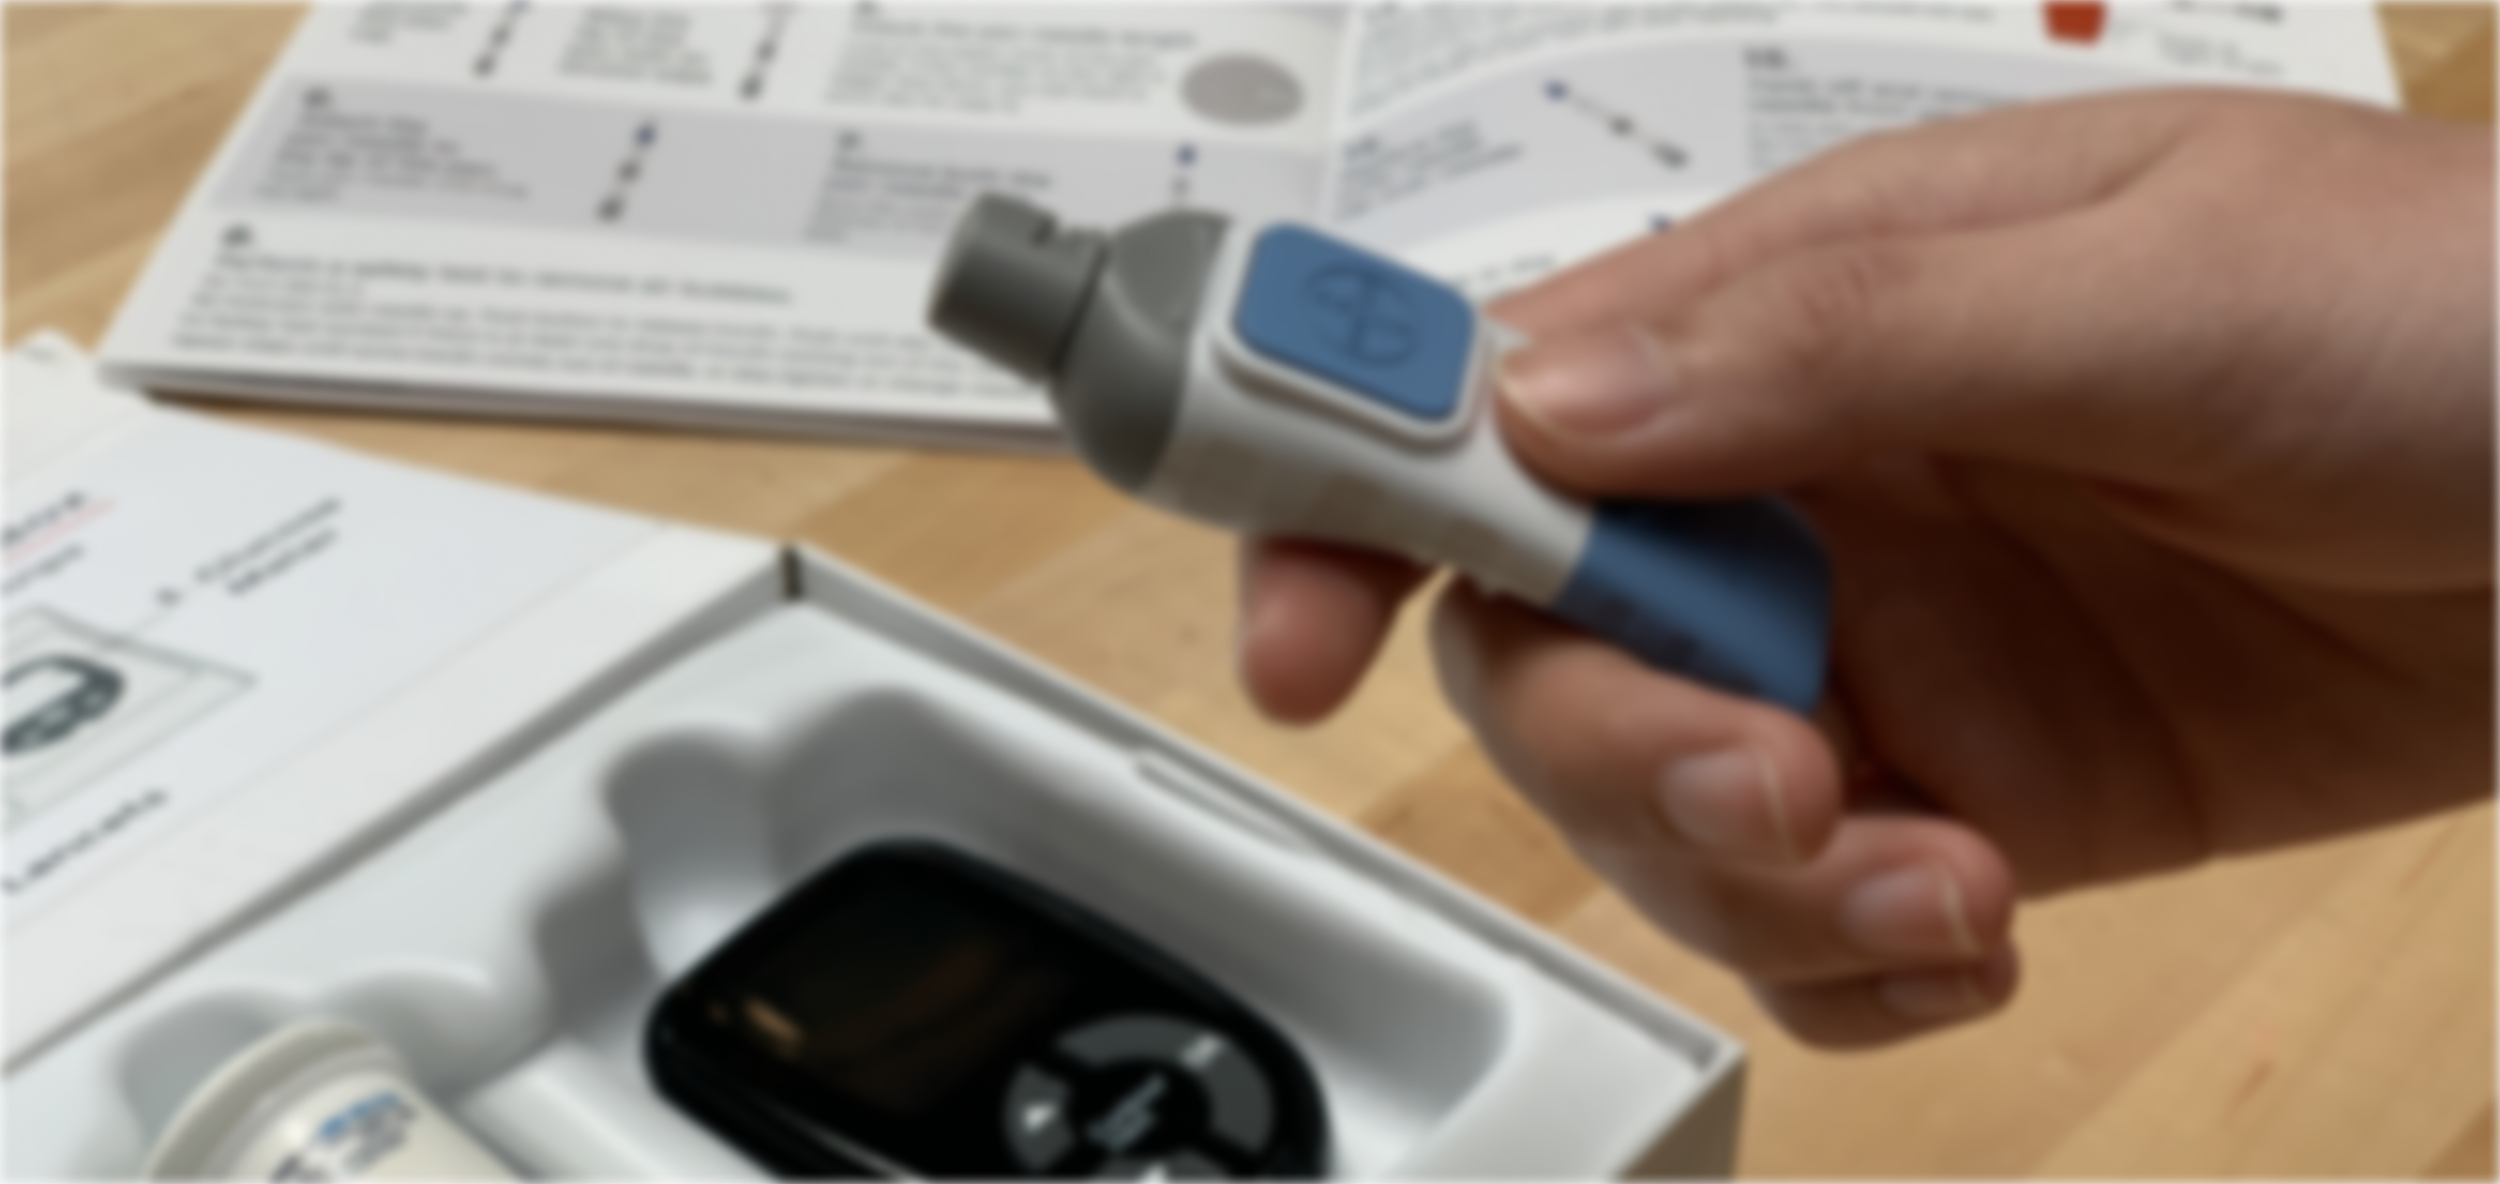
2. Remove the outer cap on the lancing device
Not all devices are the same.


3. Insert lancet into the lancing device

4. Slowly twist off the top of the lancet
Save top for later—you will need it when you remove the lancet.
It’s easy to remove the top if you twist 3 times.

5. Replace the outer cap on lancing device
The outer cap will keep the lancet from going too deep.

6. Choose the setting on the lancing device
Each device is different, try the middle setting first.


7. Pull back lever or end cap on lancing device to load
With some devices you may hear a click.

8. Make sure lancing device is loaded by pressing the button. Load again before use
With some devices you may hear a click.

9. Take a test strip from the bottle
To keep test strips dry, close the bottle tightly.

10. Put a test strip in the meter with test spot sticking out
The meter will turn on when test strip is put in the right way. If the meter does not turn on or shuts off, take the test strip out and try putting it in another way.

11. Firmly push the tip of the lancing device against the side of your finger
Put your finger on a table or your lap to keep steady.

12. Press the button on the lancing device to get blood from your finger
You may need to change the lancing device setting if you get too much or not enough blood.


13. Make sure the meter is on. Put blood on the test spot as shown
Check result. The blood glucose goal for most people is 80-130 mg/dL before meals and 80-180 mg/dL after meals.


14. Remove the outer cap of the lancing device
Be careful not to poke yourself!

15. Put the small, round top of the lancet back on to cover lancet
Use the top that you twisted off earlier in Step 4.

16. Remove the lancet from the lancing device
Some lancing devices have a release button.

